What is the 1st thing to do after check out angular project from git?
Reference URL: https://stackoverflow.com/a/54142081
npm install

Windows users who don't want the Microsoft .NET Framework 4.7 at this point in time may block the Windows Update deployment of it.
Microsoft released the new .Net Framework 4.7 back in April 2017, and announced back then that it would distribute the new version "in a couple of months" through Windows Update.
Anyone interested in the new version could download online and offline installers for the .Net Framework 4.7 already.
The new version introduces new capabilities to the framework which users will benefit from as well once they are integrated into .Net applications. This includes high DPI support for Windows Forms, touch support for WPF applications, performance and reliability improvements, and enhanced cryptography support.
The new version is an in-place upgrade for the following .Net Framework versions: 4, 4.5, 4.5.1, 4.5.2, 4.6, 4.6.1, 4.6.2.
Note: The Microsoft .Net Framework 4.7 is part of The Windows 10 Creators Update. If you run that particular version of Windows 10, you are all set already.

Microsoft notes in a new support article that some businesses and organizations may have the requirement to block the installation of the new .Net Framework version for a temporary period of time.
Provided through Windows Update and Windows Server Update Service (WSUS), the .Net Framework 4.7 is offered as a recommended update on all platforms that Microsoft released it for.
Windows administrators who want to block the deployment of the latest version of the .Net Framework need to set a Registry key for that. While there may be other means to do that, hiding the update in Windows Update, or using manual updating methods only, this is the recommended method by Microsoft.
Microsoft admits in the support article that this is a temporary block. The company has yet to reveal for how long it will block the deployment of the new .Net Framework.
We will update this article once Microsoft communicates the deadline.
Tip: Use the .Net Framework 4.7 Cleanup Tool to remove versions completely from your system.

If you are using Windows 7, please try to disable "Internet Connection Sharing (ICS)" service.
Reference URL: https://stackoverflow.com/a/40463405
see this is working for me.
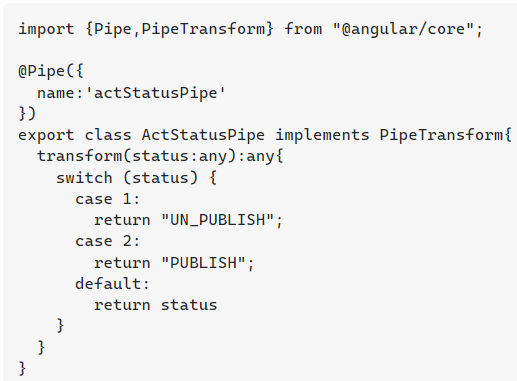
ActStatus.pipe.ts First this is my pipe
import {Pipe,PipeTransform} from "@angular/core"; @Pipe({ name:'actStatusPipe' }) export class ActStatusPipe implements PipeTransform{ transform(status:any):any{ switch (status) { case 1: return "UN_PUBLISH"; case 2: return "PUBLISH"; default: return status } } }
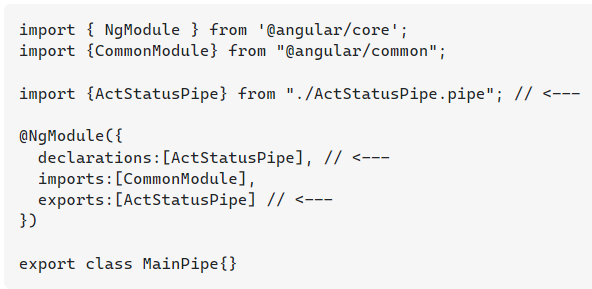
main-pipe.module.ts in pipe module, i need to declare my pipe/s and export it.
import { NgModule } from '@angular/core'; import {CommonModule} from "@angular/common"; import {ActStatusPipe} from "./ActStatusPipe.pipe"; // <--- @NgModule({ declarations:[ActStatusPipe], // <--- imports:[CommonModule], exports:[ActStatusPipe] // <--- }) export class MainPipe{}
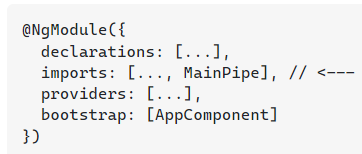
app.module.ts user this pipe module in any module.
@NgModule({ declarations: [...], imports: [..., MainPipe], // <--- providers: [...], bootstrap: [AppComponent] })
you can directly user pipe in this module. but if you feel that your pipe is used with in more than one component i suggest you to follow my approach.
create pipe .
create separate module and declare and export one or more pipe.
user that pipe module.
How to use pipe totally depends on your project complexity and requirement. you might have just one pipe which used only once in the whole project. in that case you can directly use it without creating a pipe/s module (module approach).
-rw-r--r--. 1 srvusr srvusr 87M Jul 18 19:53 output.log.20220718_pm074234.log-rw-r--r--. 1 root root 87M Jul 21 12:01 output.log.20220718_pm074234.without9.logsudo gzip -9 output.log.20220718_pm074234.logsudo gzip output.log.20220718_pm074234.without9.log-rw-r--r--. 1 srvusr srvusr 4.0M Jul 18 19:53 output.log.20220718_pm074234.log.gz-rw-r--r--. 1 root root 4.2M Jul 21 12:01 output.log.20220718_pm074234.without9.log.gz

Version: 2021-09
The following solutions are not available: Subversive - SVN Team Provider 4.0.5 (id=org.eclipse.team.svn.resource.ignore.rules.jdt.feature.group, site=http://download.eclipse.org/technology/subversive/4.0/update-site/)
Version: 2021-06
The following solutions are not available: Subversive - SVN Team Provider 4.0.5 (id=org.eclipse.team.svn.resource.ignore.rules.jdt.feature.group, site=http://download.eclipse.org/technology/subversive/4.0/update-site/)
but URL still reachable via browser: http://download.eclipse.org/technology/subversive/4.0/update-site/


In this Windows 10 guide, we'll walk you through the steps to delete the content inside the SoftwareDistribution folder. As an alternative option, we'll also show you the steps to rename the folder, in case you only want to test if the folder's content is the one causing problems.
To delete the content inside the SoftwareDistribution folder, do the following:
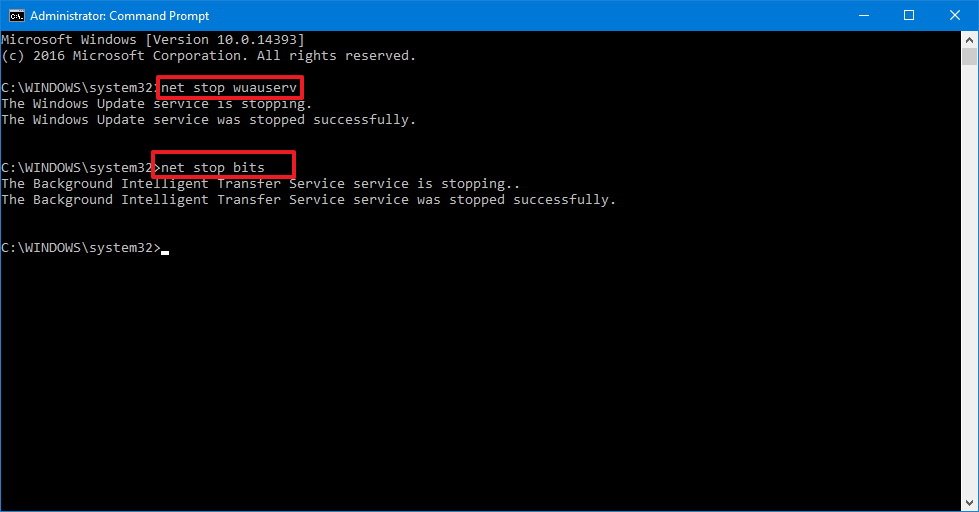
Type the following command to stop the Windows Update Service and press Enter:
net stop wuauserv
Type the following command to stop the Background Intelligent Transfer Service and press Enter:
net stop bits
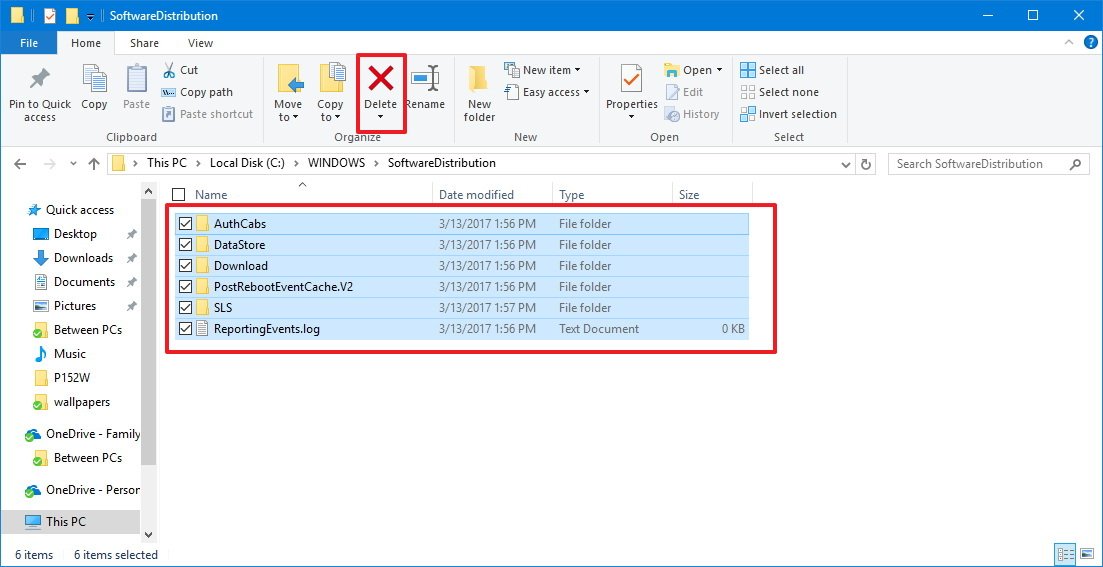
Open File Explorer and browse the following path:
C:\Windows\SoftwareDistribution
Select all its content and click the Delete button to clear the content.
Quick Tip: In the case, you're having trouble deleting all the files, simply restart your computer, and try again.
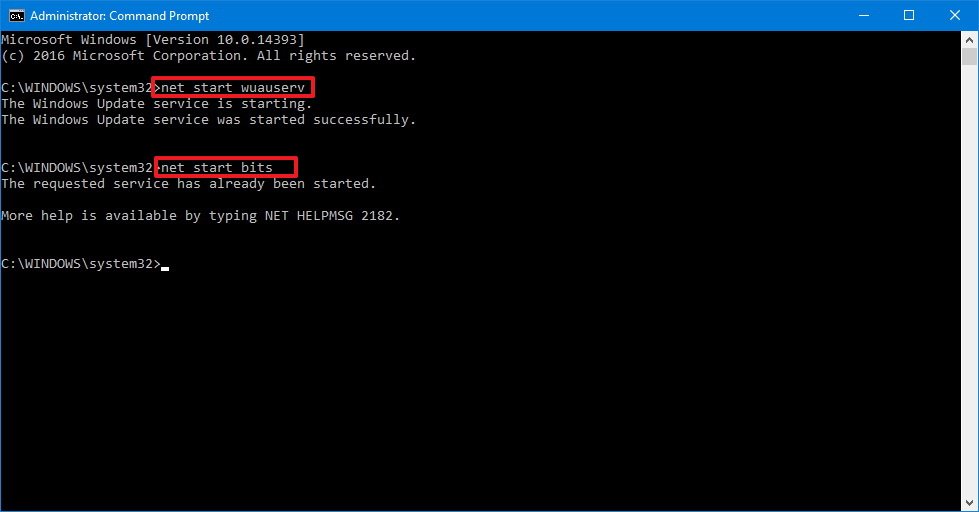
On Command Prompt, type the following command to start the Windows Update Service and press Enter:
net start wuauserv
Type the following command to start the Background Intelligent Transfer Service and press Enter:
net start bits
Once you completed the steps, Windows 10 will reconfigure the folder and re-download all the necessary components.
If you don't want to delete the content inside of the folder, you can alternatively, rename the folder to troubleshoot Windows Update problems.
To rename the SoftwareDistribution folder, do the following:
Type the following command to stop the Windows Update Service and press Enter:
net stop wuauserv
Type the following command to stop the Background Intelligent Transfer Service and press Enter:
net stop bits
Type the following command to rename the folder and press Enter:
rename %windir%\SoftwareDistribution SoftwareDistribution.bak
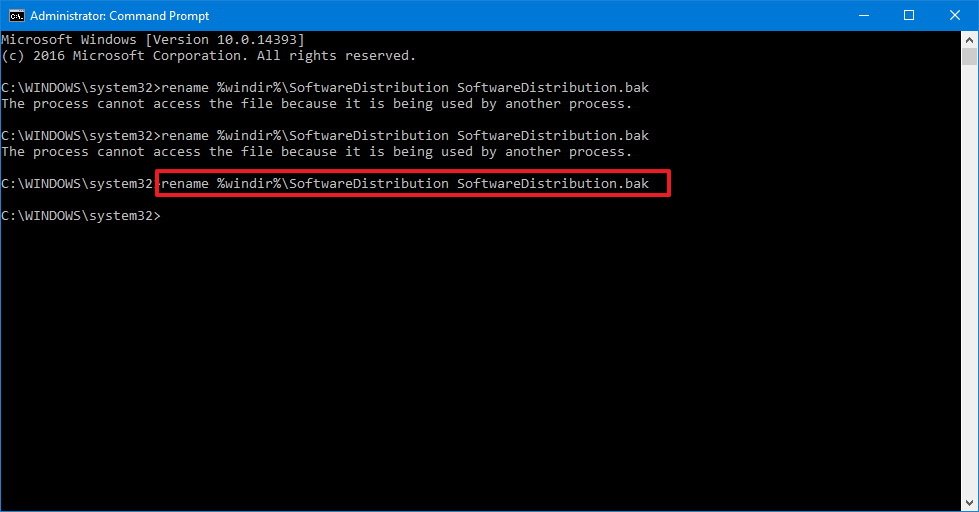
Quick Tip: If the command isn't letting you rename the folder, try steps No. 3 and 4 one more time, and then try to rename the folder.
Type the following command to start the Windows Update Service and press Enter:
net start wuauserv
Type the following command to start the Background Intelligent Transfer Service and press Enter:
net start bits
After you've completed the steps, Windows 10 will re-create the folder and re-download all the necessary components.
The only caveat with this process is that the SoftwareDistribution folder also includes the Windows Update history information, which means that emptying up the folder will result in loss of this data. In addition, you'll notice that Windows Update will take longer than usual to detect and update your computer because the WUAgent must check and re-create the Datastore information. However, it's a small price to pay to get your device to update again.
While sometimes the folder may grow, it's only recommended to use these instructions only when necessary. You shouldn't mess with the SoftwareDistribution folder to free up storage space on your computer.
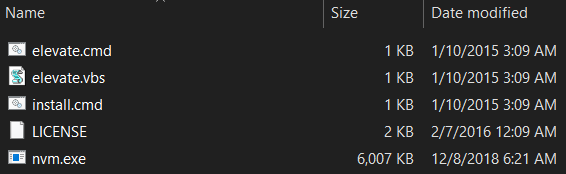
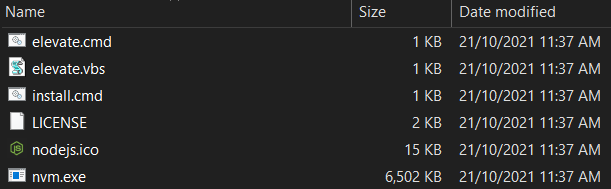
Old files of version 1.1.7:
After run nvm-update.exe, it will prompt you which version to upgrade, and download files:
If you can't do
UPDATE table SET a=value WHERE x IN
    (SELECT x FROM table WHERE condition);
because it is the same table, you can trick and do :
UPDATE table SET a=value WHERE x IN
    (SELECT * FROM (SELECT x FROM table WHERE condition) as t)
[update or delete or whatever]